Netflix’s ‘1899‘ jumps from the horror mystery genre in episode 3 to the action-thriller genre in episode 4. By the end of episode 3, Franz and the rebels imprison Captain Eyk and a few others. The rebel group decides that the ship will stay its course and reach America, irrespective of what happens. However, episode 4 moves on to a different tangent, wherein the rebels lose all sense of objectivity and try to control everything. Here’s everything you need to know about episode 4. SPOILERS AHEAD!
1899 Episode 4 Recap
Episode 4 follows the rebels as they establish control over the ship and try to solve problems they don’t understand. We also see Lucien and Jérome’s backstory come to the forefront, which gives us an insight into Lucien’s character and what he’s going through. While most of the episode is like a witch-hunt, there are elements of mystery that leave the audience stumped and make them wonder what will happen next.
Lucien and Jérome’s Backstory
Episode 4 begins with Jérome’s dream wherein Lucien and Jérome are comrades in a war. Both of them fight in the French army, but the former wants to escape the battlefield. Lucien says that the supply squad should have reached them, but since it didn’t, it doesn’t make sense for them to stay. So, Lucien drags the body of a lieutenant who has been dead for the last two days. He comes up with a plan wherein Lucien will pose as the wounded lieutenant and Jérome as the soldier who helped the former. Thus, the two can leave the battle and lead their lives as free men. However, Jérome doesn’t like the thought of deserting the army.

So Lucien pretends to concede but knocks Jérome out. When the latter wakes up, he’s locked up in a cage in the barracks, and Lucien is in the lieutenant’s clothes. Lucien tells his comrade that he can’t let this chance go and will regret informing the higher authorities that Jérome was a deserter. With this revelation, Jérome’s intent behind boarding the ship becomes clear. The man intends to exact revenge against his former friend and comrade.
On the other hand, we also discover why Lucien seems so unhappy with life despite being a free man. In a conversation with Clémence, Lucien reveals that he suffers from a disease and will die soon. He also explains how the condition causes seizures, and his vials of medicines stop them. However, the medication has a side effect, preventing Lucien from getting an erection. While there’s melancholy in his voice, there’s also anger for some reason. When Lucien opens his drawer, he sees the lieutenant medal and confronts Clémence about it, thinking she placed it there. But the woman has no idea, and as Lucien realizes this, he apologizes. Later, Lucien and Jérome come face to face, but due to circumstances, we do not see anything unfold between them.
The Mutiny
The mutiny causes the circumstances that prevent a fight between Lucien and Jérome. After locking up, Captain Eyk, Franz finds out from the crew that the ship’s compass is working again. Furthermore, the ship is back in the position it was when it took a detour three days back. Franz doesn’t seem to have an answer but directs the crew to move West. Besides this unexplainable event, people also do not know how Prometheus disappeared. As the episode progresses, the first mate says that the boy might be the reason for the peculiar deaths and the disappearance of Prometheus.
Tove’s mother, Iben, almost instantly believes him, and at her behest, the witch-hunt begins. When the rebels find Maura and check her room, they do not find the boy. After the group locks Maura in her room, the latter wonders where the boy can be. Suddenly, she hears a knock from beneath the floor, and Maura discovers he is hiding in a shaft under her bed. The shaft’s inner black tiles and the door look similar to the ones in Captain Eyk’s room. It makes us wonder how did the boy know about the shaft.
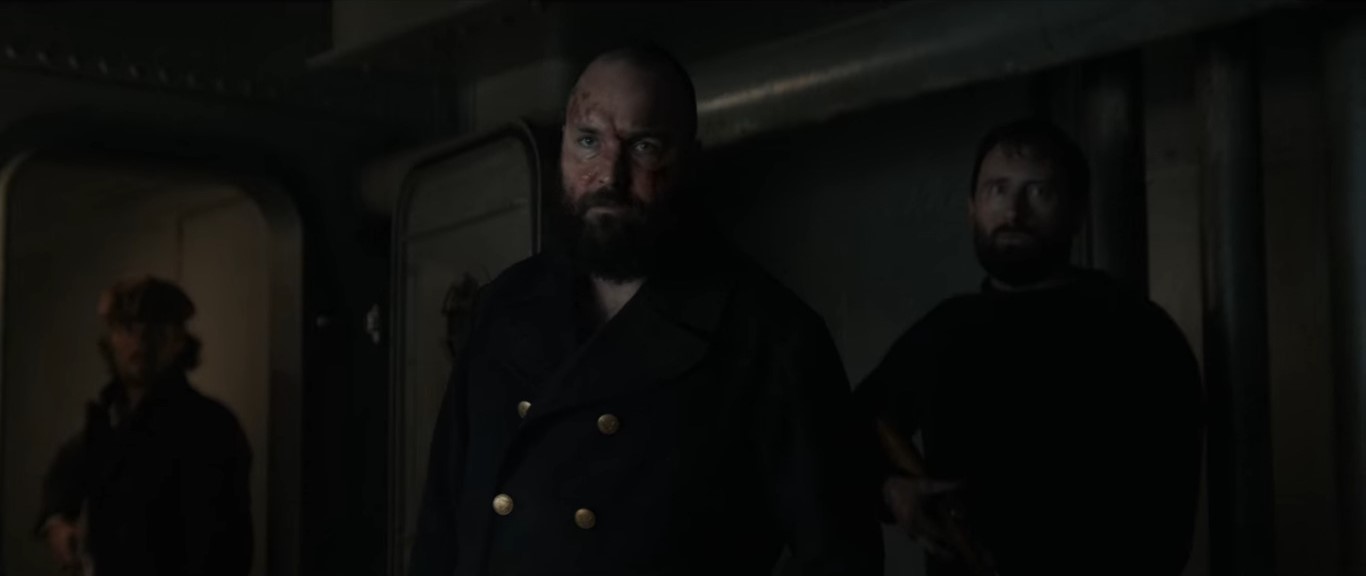
Following this, the group starts searching every room on the ship. When Iben, Krester, and a few others enter Ángel’s room, Iben realizes that Krester and Ángel have a connection she disapproves of. To gain acceptance from his mother, Krester spits on Ángel’s face and walks away. Meanwhile, Captain Eyk escapes with Ramiro’s help and is later joined by Jérome and Clémence. While Jérome knows how Clémence is related to Lucien, Clémence has no clue about Jérome.
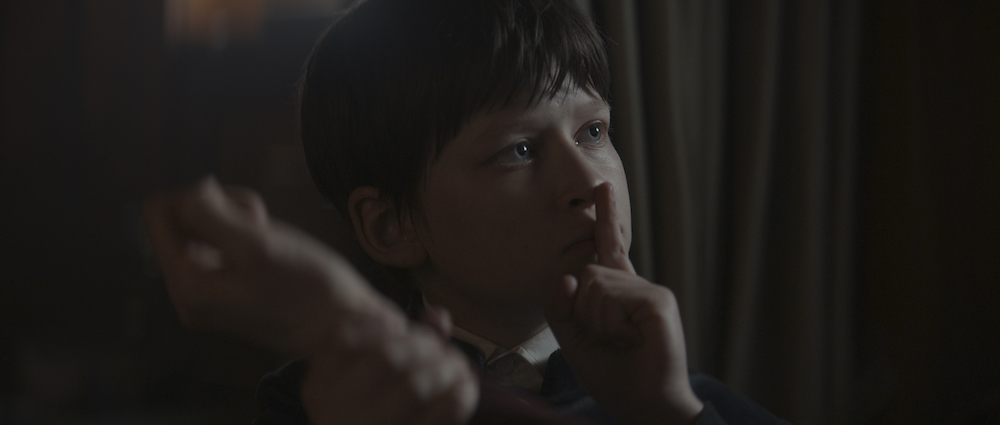
As these events unfold, the boy shows Maura his green beetle bug and lets it slide under her door. The door immediately unlocks, indicating that the bug has special powers which can unlock doors. In fact, Daniel Solace had previously unlocked the door in a similar fashion. The boy guides Maura through the hallways and unites her with Eyk and the rest of the group. However, Krester and the other rebels also reach the place and demand the former group gives up the boy. Interestingly, the boy gives himself up, and everyone once again gets locked in a room.
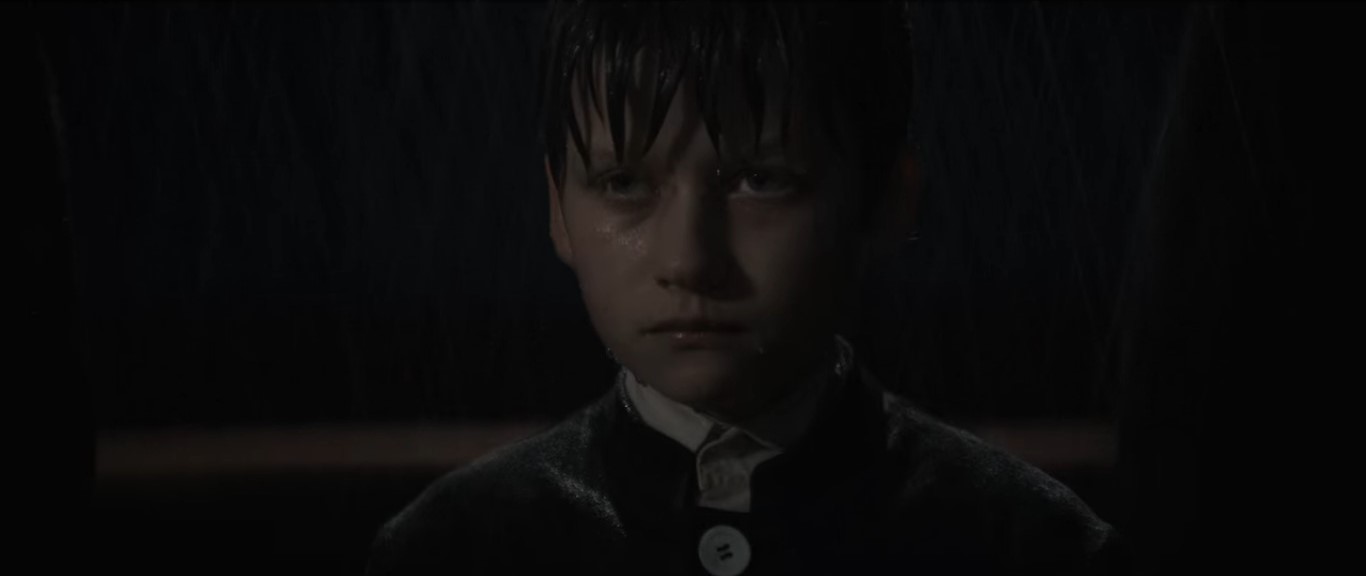
Due to certain circumstances, Jérome helps Captain Eyk and his supporters escape and gathers them to fight the rebels. The two groups meet on the deck, and an all-out fight breaks out. Maura sees the boy standing next to Iben and tries to steer through the crowd to save him. However, before Maura can save the boy, Iben tosses him overboard. Jérome and Lucien also cross paths, but before they can do anything, the Captain asks everyone to retreat.
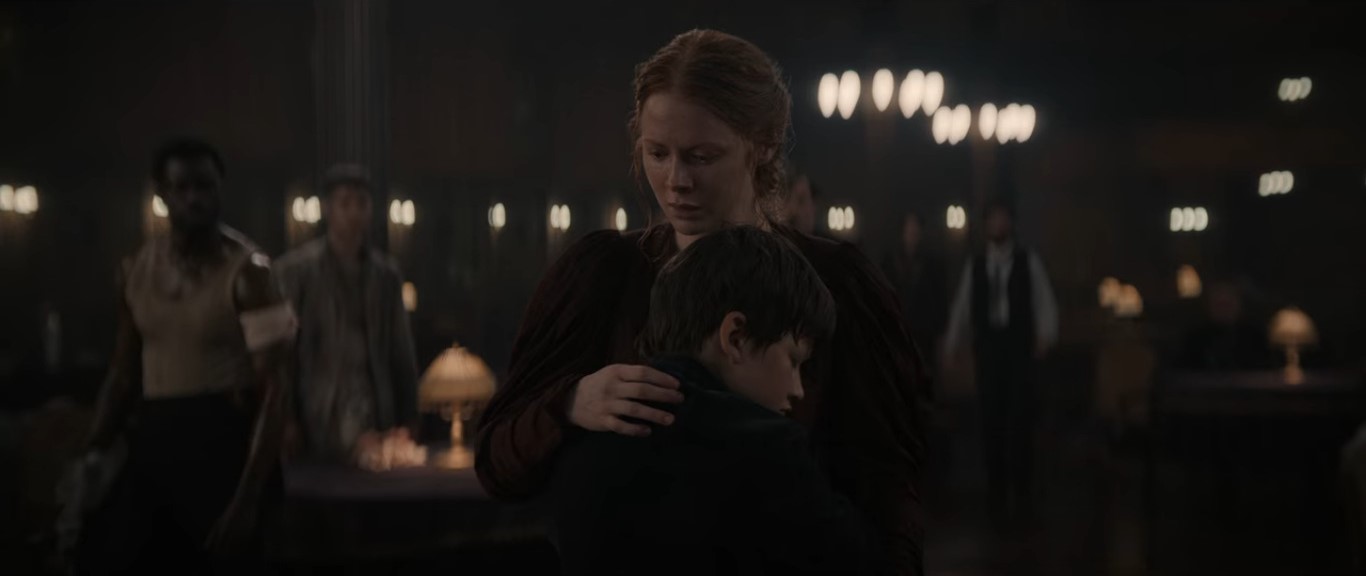
Captain Eyk and his supporters reach the main hall, and as everyone is wondering what to do next, a bright light glows inside a small cabinet. After the light diffuses, the boy opens the cabinet’s door from the inside, walks out, and hugs Maura. Considering the boy surrendered by himself, it can be assumed that he knew he could return. Since the kid possesses a special bug with powers, his pyramid likely comprises powers too. After all, the boy holds it when he’s first found in a locked cabinet aboard Prometheus. After Maura hugs the boy, the audience questions how she and the kid are related. These events leave the audience dumbfounded, and the episode ends on a cliffhanger.
Read More: 1899 Episode 5 Recap and Summary
You must be logged in to post a comment.